You are using an outdated browser. For a faster, safer browsing experience, upgrade for free today.

Iron Pour Scratch Tile

Pouring hot iron is an old art which is only being done by a select group of artists choosing to keep the art alive.

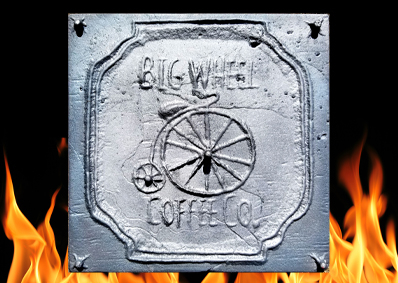
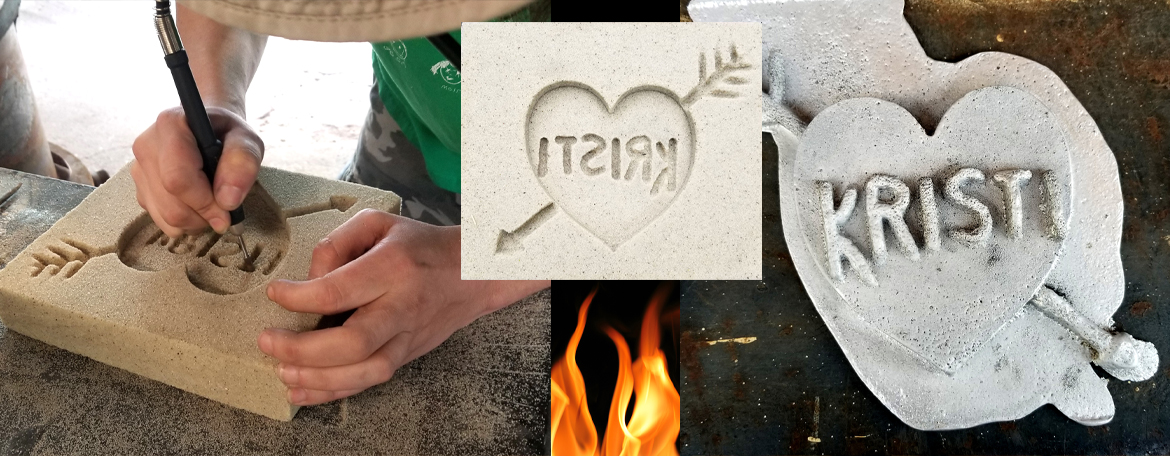
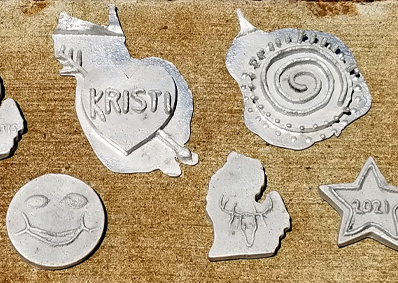
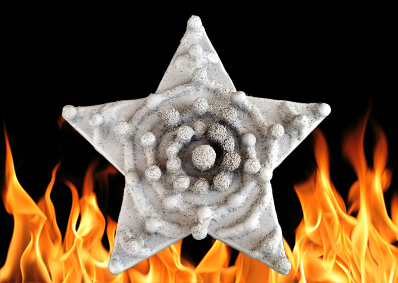
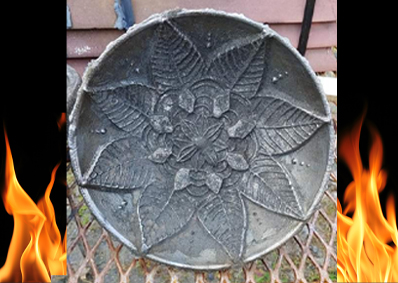
The general premise of an iron pour is the recycling of cast iron into sculpture. In this process, scrap cast iron is repurposed by first being broken into small fragments and heated until molten. The molten metal is then poured into a hardened sand mold which has been custom-carved by an iron pour participant. Once the metal has safely cooled, the resultant artwork can then be removed; a process not unlike soap or candy making.

Scratch Tile Workshop

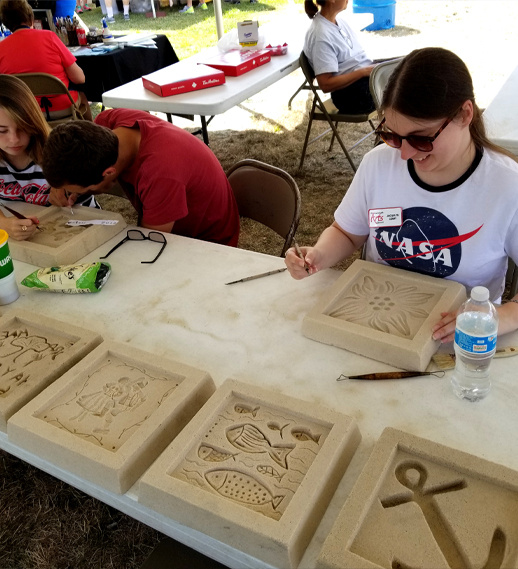
You can either pick up an 8” x 8” sand block from us and carve your design on your own time or attend the workshops on Friday, September 22 between 11am - 9pm or Saturday, September 23 between 9am - 4pm. Come and work on your project as long as needed. Help and teaching will be available.

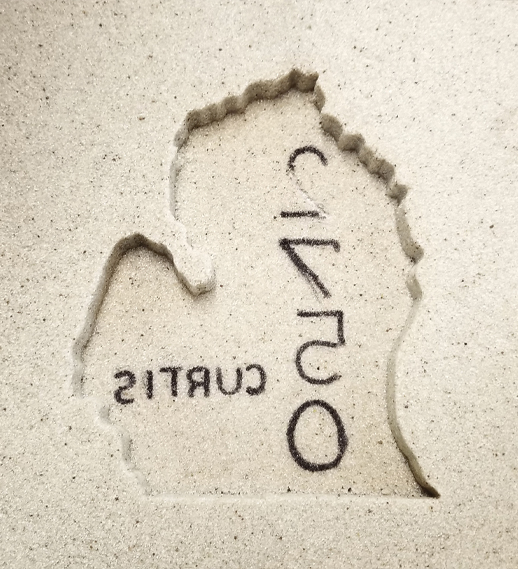
In addition to our previous offering of an 8” x 8” square scratch tile at a cost of $65 each, we are also giving you the opportunity to carve your artwork into five different 5” x 5” scratch tile shapes for a cost of $45. The shapes are Heart, Square, Star, Circle, Cross and State of Michigan.

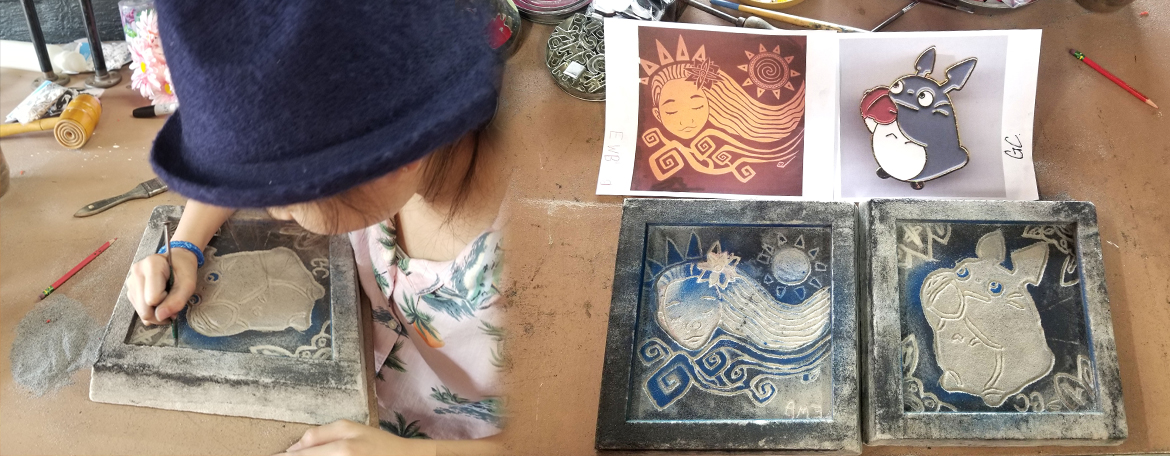
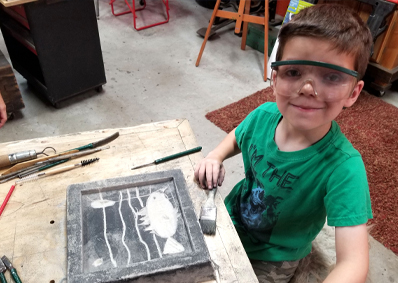
To carve the block, use an old screwdriver or utensil you have around the house. Some have carved their entire block with an old nail and some choose to use a Dremel Tool. (Dremel Tools will not be provided at workshops) It’s really what is most comfortable for you to work with and what you have handy at home. (Simple tools will be provided at workshops, but feel free to bring tools you think may work).

Helpful Hints
  1. Be sure to keep your carving within the 8”x8” square working space.
  2. Maximum carving depth is ½” but should not be used on the entire 8”x8” working space or the mold may crack when cast.
  3. You are working in the reverse. If you plan to add letters and numbers, they must be carved backwards. The deepest marks you make will be the lines that are the highest portion of your relief sculpture. You can add texture by crosshatching.
  4. Keep your block safe. Do not get it wet, do not drop it - it will break.
  5. Come prepared with a sketch or design.
  6. If you are using text or numbers, you may want to first draw your design on a piece of paper. Flip the paper over when finished and using a light source (such as a window), trace your design. This will reverse your design so that it will be easier to reference.

Your tile will be poured with iron at dusk on Friday, September 22 or Saturday, September 23.

Finished piece pick-up: Should you decide to clean your own piece by aggressively scrubbing with a steel brush, your piece will have cooled sufficiently by the next day and can be picked up from our site on Sunday, September 24. If we sandblast for you, your piece will be completed during the week following the event. You will receive communication for pick-up.

  • The cost for the workshop and piece is $65.
  • The cost for the workshop and piece with sandblasting is $75.
Register Now!
  • Sand Tile Questions? Contact Stephen Hargash 989-598-4967 or hargashartiststudio@gmail.com

Iron Pour Plasticine Tile

Plasticine is the name brand of a modeling clay with a putty-like texture. It looks, works, and feels similar to traditional clay, but does not dry out or harden and cannot be fired. It was invented for student use around 1887 by William Harbutt, then the headmaster of the Bath School of Art and Design in England. Although you may not be familiar with the Plasticine brand name, you have very likely encountered this product in your life already! Generic versions are readily available for children’s crafts in a wide range of colors. Because of its malleability, Plasticine is also used in the production of claymation stop-motion videos. The award-winning Wallace and Gromit short films used plasticine models.

Plasticine modeling is a method used by artists to create cast sculpture in various shapes. It is more advanced than simple scratch tiles and involves the creation of a raised clay model on a flat surface. This model is then used to make a sand mold which allows for the casting of a metal replica, complete with fine detail.

Method of Use

Unlike scratch tiles, clay models aren’t confined to a rectangular shape. In further comparison, a finished scratch tile becomes a mold in and of itself, while a clay model is a structure from which a mold will be created.

It is necessary to construct a sturdy base for the model. The first step involves cutting out the model’s basic form from foam core, similar to a silhouette. The foam board is then securely attached to a thin wooden platform for stability. Since Plasticine does not require firing, no special materials are needed. An appropriately sized cut of plywood and foam board bought from a craft store will get the job done.

After the construction of the base, modeling clay is then directly applied to and built upon the foam core silhouette. The foam cut-out serves to guide the artist in keeping the proper shape and proportions and the wooden backing allows for the entire model to be easily manipulated and transported.

Once the model is finished, a mold of it must be created. This is done using a high sided frame called a flask and a sand/resin mixture. The model is placed inside the flask and packed with sand. Once packing is complete, the clay model is removed leaving behind its hollow imprint. After ensuring there is no remaining Plasticine left in the sand, the hollow mold is then ready to accept molten metal. After cooling, the mold is removed and a replica of the clay model is obtained. The sculpture is then ground and finished to bring out shine and detail.

Plasticine Tile Workshop

Attend two workshops to learn how to carve a 10” x 10” relief with plasticine clay to be held on Saturday, August 26 and Saturday, September 9, 10AM to 6PM both days at Hargash Studio located at 566 S. Main Street, Frankenmuth, behind the Great Lakes Escape Building.

Your tile will be poured with iron at dusk on Friday, September 22 or Saturday, September 23.

Finished piece pick-up: Should you decide to clean your own piece by aggressively scrubbing with a steel brush, your piece may be picked up on Sunday, September 24. If we sandblast for you, your piece will be completed during the week following the event and you will receive communication for pick-up. The cost for the piece with sandblasting is $125.

  • The cost for the workshops and piece is $115.
  • The cost for the workshops and piece with sandblasting is $125.
Register Now!
  • Plasticine Questions? Contact Stephen Hargash 989-598-4967 or hargashartiststudio@gmail.com

Aluminum Casting

We also offer aluminum casting. The artistic process is the same technique used in carving a sand tile for iron. This workshop is a great way to explore the metal casting process and try something new! No prior experience or artistic background is necessary. Take a class with a friend to create a special and unique piece of art.

Aluminum Casting Workshop

In this workshop, you will learn how to create your pattern. You will be given the choice to carve an approximate 5” x 5” sand tile in the shape of your choice: Heart, Square, Star, Circle, Cross or State of Michigan. Plan to spend about an hour to carve your piece, reserving more time to carve a more intricate piece.

You are asked to register your time for attendance at this workshop.

Aluminum is able to be cast and cooled much quicker. Once your sand tile is carved it will be poured and required to cool for an hour. You do not need to remain to see your piece poured or wait for it to cool, but may pick-up at a later date.

Register early to assure your choice of shape.

We also plan to offer “make and take” experiences for those who have not previously registered.

  • The cost for an 8" x 8" square is $45. The cost for the shapes is $35.
Register Now!
  • Aluminum Questions? Contact Stephen Hargash 989-598-4967 or hargashartiststudio@gmail.com

Glass Blown Solid Work

Glassblowing is a glassforming technique that involves inflating molten glass into a bubble (or parison) with the aid of a blowpipe (or blow tube). A person who blows glass is called a glassblower, glassmith, or gaffer. A lampworker (often also called a glassblower or glassworker) manipulates glass with the use of a torch on a smaller scale, such as in producing precision laboratory glassware out of borosilicate glass. (source: Wikipedia)

The Frankenmuth Fire Arts Festival Committee has hired Firenation Studio and Gallery from Holland, Ohio to bring their Mobile Hotshop, portable glass furnace to our event. Firenation will be bringing a display of their creations for exhibit and sale. Visit their website at Firenation.com

Glass Blown Solid Work Workshop Details

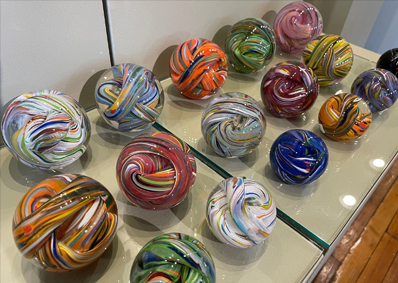
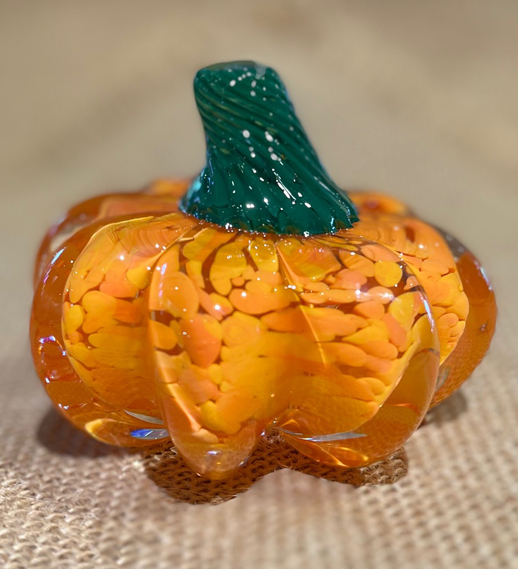
Participants will be working hands-on with a glass instructor learning how to make a glass pumpkin or paperweight as shown above. You will be given the opportunity to choose your color of glass. The finished piece will be placed into an annealer. This will enable the glass to cool down slowly from 2000 degrees which prevents breakage. All items will be finished and ready for pick-up the following morning at the registraion booth. Your piece may be mailed to you if you choose. The cost to mail your pumpkin is $10. This request and payment can be made at the time of your workshop.

Limited slots available. Time slots are available Friday, September 22 from 12 PM to 6:45 PM and Saturday, September 23 from 12 PM to 6:45 PM. Time slots are first come, first serve. Register today! Information regarding pick up times will be given at the workshop.

  • The cost for the workshops and piece is $60.
Register Now!
  • Glass Questions? Contact Mary Anne Schrems 989-652-8887 or MASchrems@aol.com

Raku Workshop

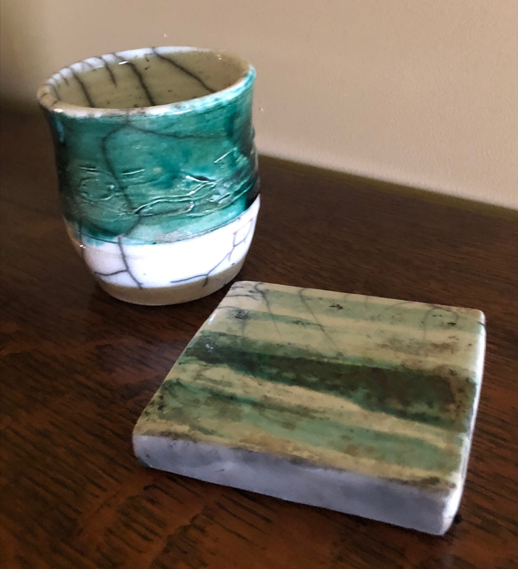
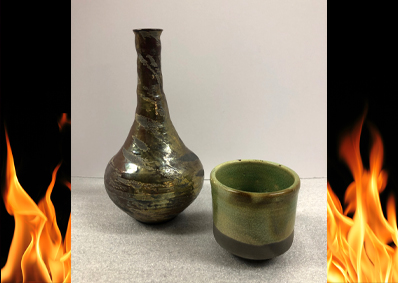
Raku is an ancient Japanese technique which has been rediscovered by modern potters who appreciate its unique beauty and metallic luster and color. The raku process involves reducing (starving the oxygen) the glazed raku pottery in combustible materials such as leaves, sawdust, newspaper, etc. When the pieces are taken out of the kiln, they are placed in galvanized trash containers with combustible material and covered. Once the pieces are cooled, they are removed from the containers, washed, and will reveal the rich warm effects of raku.

Please be aware:

Raku Firing is a volatile process in the ceramic world. There is ALWAYS a chance for pieces NOT to survive the process. This is why we will allow for two pieces to be made in the workshops. HOWEVER, if both pieces do not survive, we will try our best to retrieve the remains. THIS IS AN UNAVOIDABLE FACT OF RAKU. Should our spots not all fill, every effort will be made to bring you back to try the process again. The process is a large part of the experience.

Raku Workshop Details

Time slots are available Friday, September 22 from 11 AM to 7:30 PM and Saturday, September 23 from 9:30 AM to 6:30 PM. Time slots are first come, first serve so register today!

Each workshop will take approximately 1½ hours from start to finish. You will be able to take your piece home when the process is completed.

  • The cost for the workshops and piece is $65.
Register Now!
  • Raku Questions? Contact Mary Anne Schrems 989-652-8887 or MASchrems@aol.com

Candle Alchemy Workshop Details

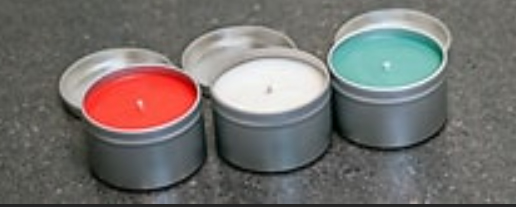
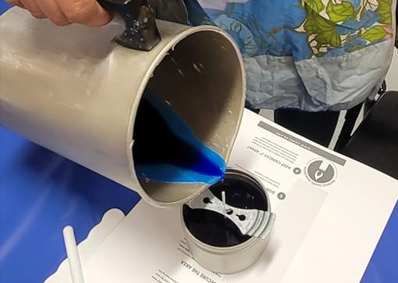
Candle Alchemy (magical process of creation), hosted by the Frankenmuth Historical Association. Register for this one-hour workshop where you will learn how to hand dip an old-fashioned beeswax candle, along with creating a Mason jar soy candle with various colors and scents.

  • The cost for the workshops and piece is $15.
Register Now!
  • Candle Questions? Contact Stephen Hargash 989-598-4967 or hargashartiststudio@gmail.com

Hand Thrown Pottery Workshop Details

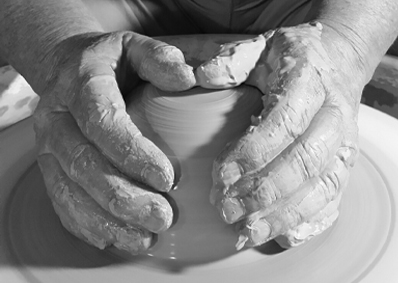
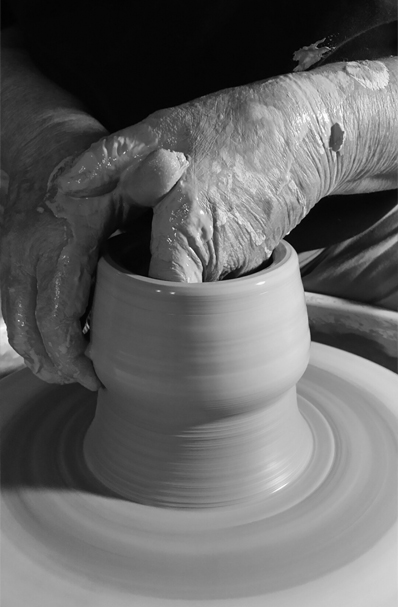
Have you ever wanted to try to put your hands into wet clay, spin it on the wheel and watch your creation become a piece of pottery? New to the Fire Arts Festival for 2023 is a workshop to learn hand-thrown pottery.

This workshop will take approximately one hour to complete. As you enter the workshop area, you will be asked to watch a short video to learn the process of throwing pottery. Following the video, feel free to watch as the artists from JUST THROW SOMETHING teach the previous student the technique. You will then have an opportunity to spend a half hour learning from a potter at the wheel how to create your own piece.

Workshops are scheduled on Friday and Saturday between 9:30 AM and 7:30 PM. Slots are first come, first serve.

The normal process to create a piece of pottery is a multi-faceted procedure. Your options and pricing is as follows:

  • Option One Some of you may choose to take your piece with you after you’ve created it without being fired. The cost is $40. The piece will be porous and unsafe for food.
  • Option Two Your piece will be fired to 1900 degrees in a kiln. This is called a “bisque fire.” At this point your piece will still be porous and unsafe for food. You may use it later for painting or try the raku process. If you choose to pick up in Reese, MI, the cost is $48 and to have it shipped, the cost is $60.
  • Option Three Have your piece fired, glazed by JUST THROW SOMETHING with a color of your choice (chosen at the workshop), and fired again at 2000 degrees. If you choose to pick up in Reese, MI, the cost is $52 and to have it shipped, the cost is $65.

Because of kiln restraints, it may take 3-4 weeks for the piece to be shipped to you.

Should you opt to upgrade your option at the workshop, arrangements can be made with JUST THROW SOMETHING to handle the additional charges.

Register Now!
  • Pottery Questions? Contact Mary Anne Schrems 989-652-8887 or MASchrems@aol.com

Iron Bowl

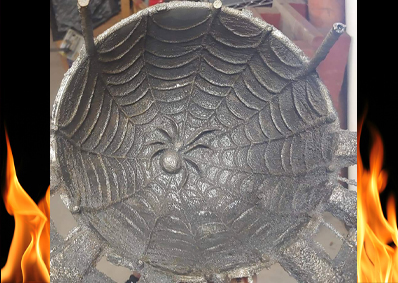
After last year’s success we are pleased to once again offer the opportunity for you to construct an iron bowl. This year, Amanda Partridge Nordin will be teaching another way in which to form the artwork using Plasticine, which is similar to modeling clay. You will be able to form the clay and place it onto a bowl-shaped form. The bowl will then be packed in sand to create the mold into which your metal will be poured.

Iron Bowl Workshop Details

A two-day class will be held on August 26 and September 9 from 10 AM to 6 PM at Hargash Artist Studio at 568 S. Main Street in Frankenmuth. For those not able to complete the carving, your piece may be finished at home. Amanda will return on Saturday, September 9 to teach the process of gating, venting, and banding the bowl. The mold will be poured at the Saturday night iron pour and available for pick-up on Sunday at noon.

  • The cost for the workshops and piece is $150.
Register Now!
  • Iron Bowl Questions? Contact Stephen Hargash 989-598-4967 or hargashartiststudio@gmail.com

Blacksmithing Workshop Details

After last year’s placement on Blacksmith Alley, the Frankenmuth Fire Arts Festival is pleased to announce that Garrett Waterman of Waterman Ironworks has agreed to teach a workshop. Garrett began blacksmithing in 2020 after finding some of his grandfather’s old tools in the barn. He lives on a farm in Otisville with chickens, cows, and miniature horses. His primary focus is on knife making, but he is branching out into other items such as jewelry, tools, camping items, and decorative work.

You will be taught how to make a rail spike bottle opener using a gas forge. All safety equipment, such as safety glasses and gloves will be supplied. Participants are required to be 18 years of age or older. It is recommended you wear long pants, a long-sleeved shirt, and closed toe shoes. You will also be asked to sign a waiver before the class.

Garrett will be able to teach two students at one time. Each workshop will require an hour and a half to complete. Because of the length of each workshop, there is a limited amount of 16 workshops available for the weekend. Class slots are available throughout the day on Friday and Satuday, September 22 and 23 on a first come, first serve basis.

  • The cost for the workshop and piece is $90.
Register Now!
  • Blacksmith Questions? Contact Mary Anne Schrems 989-652-8887 or MASchrems@aol.com